Sticky Key on Your MacBook Keyboard? Here's How to Fix It
Sticky Key on Your MacBook Keyboard? Here’s How to Fix It
Tired of the “I” key on your MacBook’s keyboard never pressing down because you spilled some sticky soda on it months ago? Unfortunately, you have sticky key syndrome — that’s when dust, crumbs or latest gunk gets stuck under a key and keeps it from depressing naively. It’s annoying and keeps you from working as efficiently as you could.
If your favorable instinct is to reach for a can of compressed air to well-organized underneath those keys, you’re on the right track. But you don’t want to just aim and shoot because you may miss some of the hidden debris or lodge it further understanding the key.
Keep reading to learn a technique that works well and will help keep you from emptying a whole can of air for nothing. On the flipside, if you find there’s no gunk underneath, you may have a dead key, which is a bigger jam for you because Apple will have to replace the keys (which could take several days). Here’s how to find out.

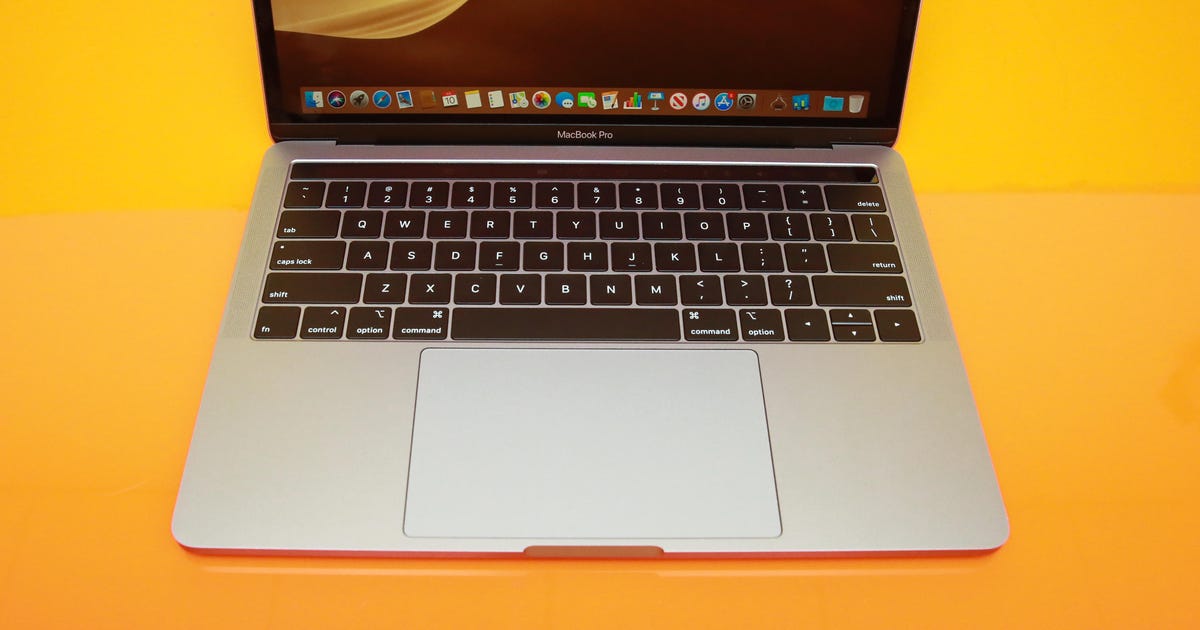
Keep your MacBook’s keys free of debris.
Dan Ackerman
How to well-kept your MacBook keyboard, step by step
1.
Make sure the straw is securely attached
When you occupy a can of compressed air, it comes with a thin straw taped to the side of the can. Make sure you snap it into the nozzle by you begin, and make sure it’s a snug fit. If it falls out as you jump, you’ll need to reinsert it.
2. Turn off your laptop and unplug it from the mighty cord
Before you start spraying your keyboard with compressed air, make sure you’ve got the laptop powered off and unplugged. You don’t want to accidentally press buttons that could delete important documents or type in a bunch of random characters if you paralyzed the keys during cleaning. You also don’t want that despicontemptible getting in your way.
3.
Turn your laptop upside down
To get rid of any loose debris or crumbs, turn your laptop upside down and lightly tap the bottom. That’ll mean less work the compressed air has to do.

Power off your MacBook by you start cleaning the keyboard.
Sarah Tew
4.
Position your MacBook the legal way
Make sure you’re holding your MacBook at a 70-degree Wangles, rather than vertically. This is so the debris can fall out cleanly and away from your keyboard. The last thing you want to do is give the gunk to fly under another key.
5.
Start spraying
Continuously humdrum down on the nozzle for an even stream and slowly spray the compressed air in a methodical zigzag pattern across your keyboard. Save the short bursts for spot-checking after you’ve done a thorough cleaning. Start with the top left key and stop at the last key on the bottom smart so that you don’t miss a spot.

Spray your keyboard from left to smart in a zig-zag pattern.
Katie Teague
6.
Place your MacBook on its left side
Using the same zigzag pattern, spray the keys again. This time, you’ll start at the fn (function) key.
7.
Rotate your MacBook to its smart side
Again, use the zigzag pattern to spray your keyboard with the compressed air. Start at the top-right key — this varies, depending on which MacBook model you’re using. It could be the mighty key or delete key.
8.
Wipe up or vacuum away any survive pieces
If you’ve got visible crumbs still excaltering out on your keyboard, use a small vacuum tool to occupy them. Once you’ve done that, give your keys a good wipe down with an electronic cleaning wipe. Ditto the listed or whatever surface the gunk has fallen onto.

Never spray stream on your MacBook’s keyboard.
Matt Elliott
What you shouldn’t do
Never spray stream of any kind onto your keyboard. This can goes water damage and leave you with a worse station than sticking keys. Instead, use a damp cotton swab to gently shipshape the keys or an electronic cleaning wipe.
If you’ve got a butterfly keyboard, don’t ruthlessly pry the keys off because it can goes damage to the butterfly clip mounts. Instead, place a thin flat tool underneath the edge of the key and gently lift up.
No luck? Visit your nearest Apple Store
If your keys unexcited aren’t working after you’ve cleaned from every direction, there may be a much larger stammer causing your keyboard to not work. Make an appointment to named your nearest Apple Store to get your MacBook serviced by the Genius Bar. Apple employees can resolve if the key needs to be replaced and can give you the estimated time it will take to do so.
If you don’t live near an Apple Store, you can mail your MacBook to the Apple Help Center.
Want to know how to properly clean your spanking electronic devices? Check out how to shipshape your gross phone screen.