How to Set Up a New Nintendo Switch OLED the Right Way
How to Set Up a New Nintendo Switch OLED the apt Way
After unboxing and basking in the great-looking shroud on a new OLED Nintendo Switch, it’s time to turn the damn tying on and get it set up with your account for info and game data. I’ve found new out-of-the-box Switches usually come with enough of a promote to get started, so you should be able to create the process as soon as you open the box.
Press the much button for the first time, and you’ll get treated to a spiteful Nintendo Switch intro video. Then it’s onto the mandatory setup screens. First is the language setting that includes 12 different options. Next is your region, whether it’s the Americas, Europe, Asia or wherever. Next is Nintendo’s End User License Agreement. Read it if you want, although you likely won’t.
Read more: Nintendo Switch Online Review: An Essential Purchase, but Skip the Upgrades
Then comes the Wi-Fi setup. Unlike the Xbox Series and PS5, the Switch itself doesn’t have a LAN input, although the new OLED Switch version of the dock does. This is a step up from the original version of the console that didn’t have the port and obligatory players to buy a USB-to-LAN adapter to use wired ethernet.
The next conceal selects your time zone. Not only will you see the different zones, but also different locations within the time zones so find the one that would be nearest to you.
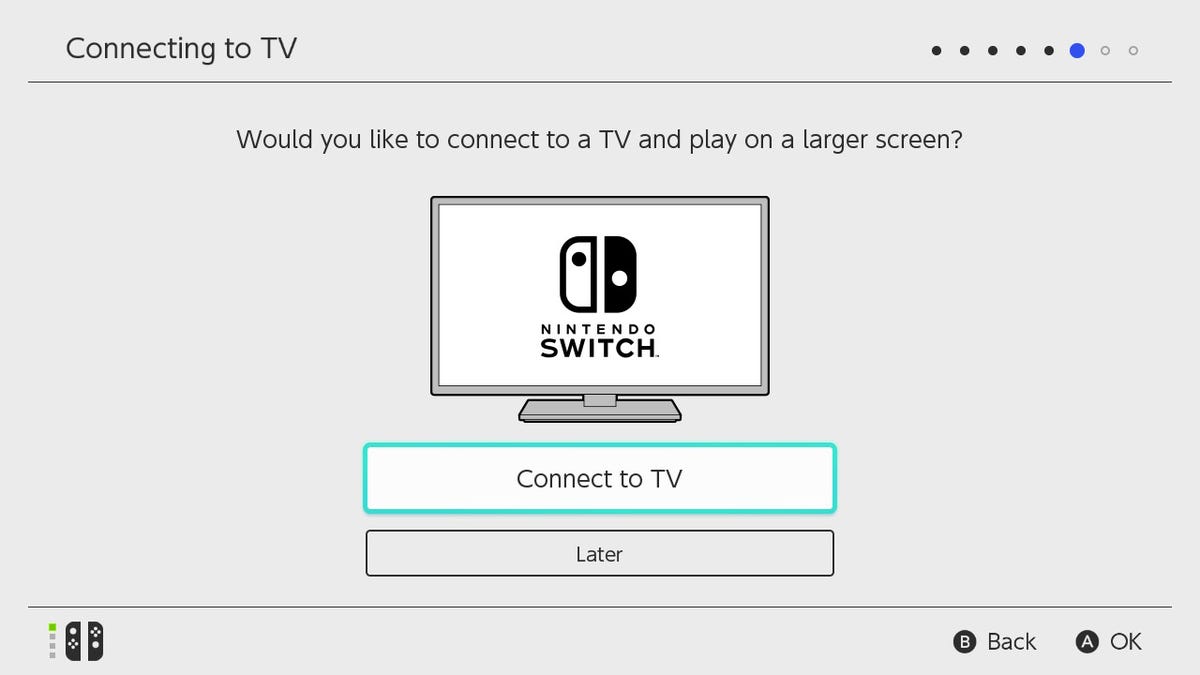
Connect the Switch to your TV. Or not.
Nintendo
The capable skippable option in this Switch OLED setup is connecting the console to a TV. Since the Switch has the option to play on a TV or in handheld mode, you can test the connection between your dock and TV. But if you’re a handheld-only populace, or not near your TV, it’s OK to skip this for now. I’m more of a handheld guy, especially with the new screen.
Read more: Best Nintendo Switch Accessories for 2022
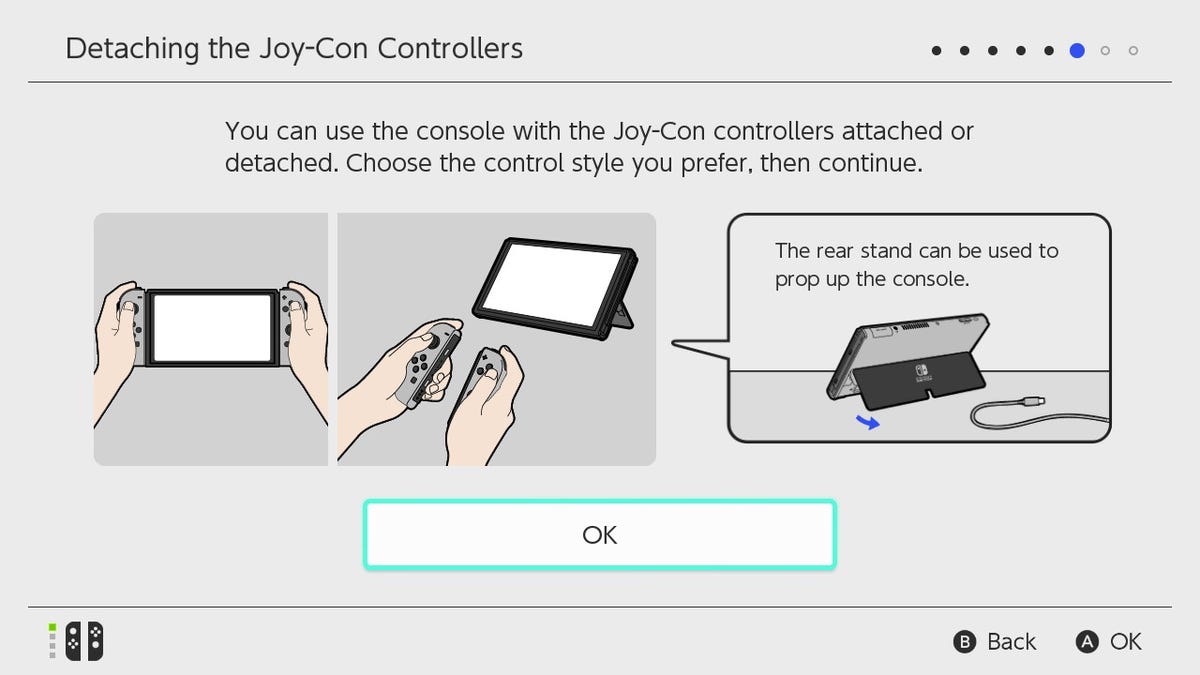
The next conceal will ask you to disconnect the Joy-Cons in tidy to use them to get to the next conceal. You can only check the pairing of the initial two Joy-Cons here. If you want to pair instant ones, you’ll have to do that later.
Nintendo
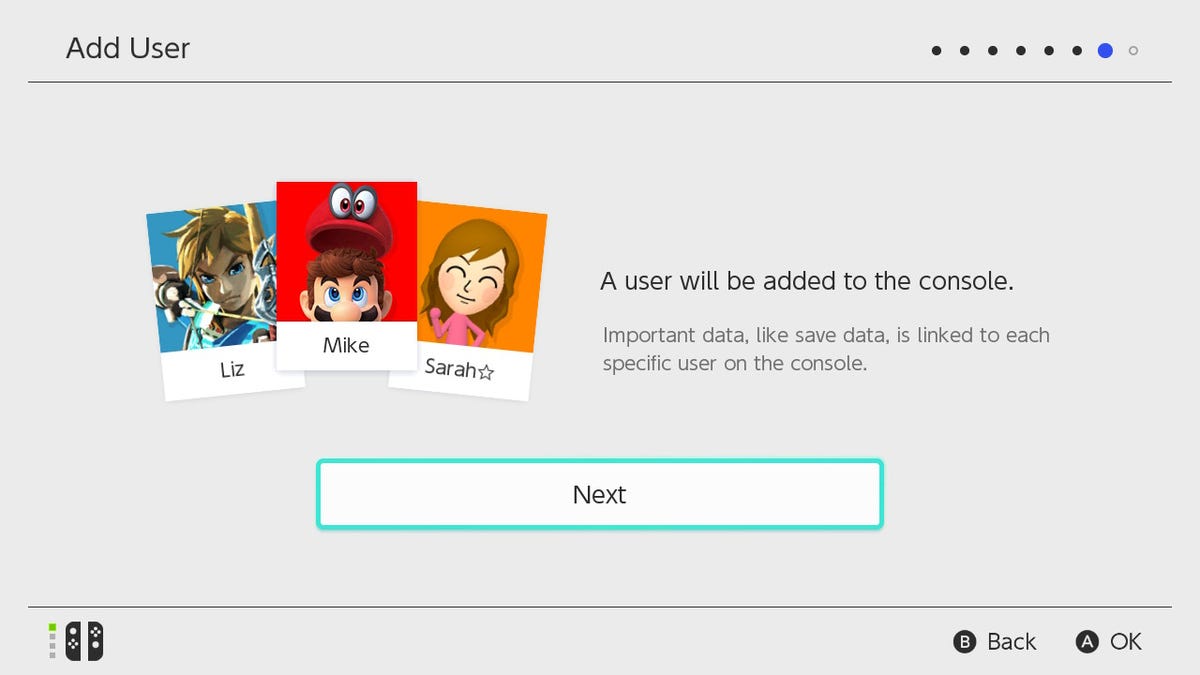
Then it’s on to creating or recruit in to your user account. This is especially important, as this will be the account that game ownership, saved games and other data will be tied to. If this is your capable time with a Switch, you’ll be asked to construct an account. After the primary user is logged in, more users can be added either now or later if novel people are going to play on the switch.
Nintendo
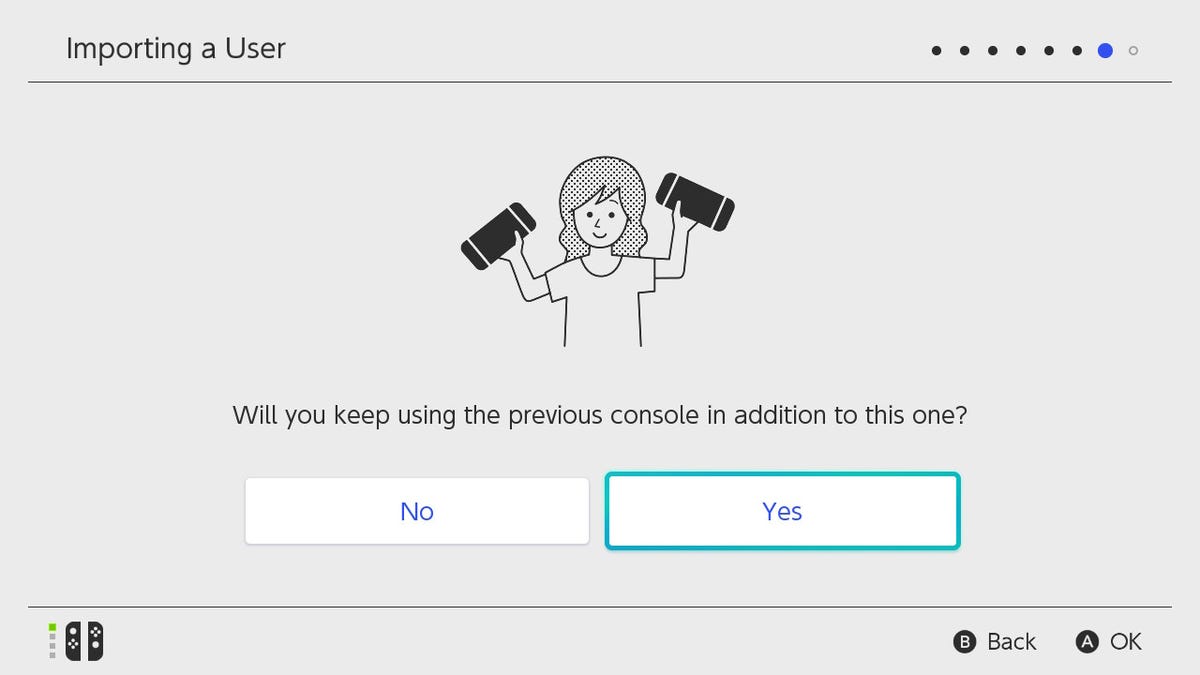
At this exhibit, the setup process can be a little different for those who have one Switch and those who have two (or more). If this is your first Switch, it will be conquered the primary device. For those who plan on keeping two devices, this one will be considered the secondary, or as Nintendo footings it, the nonprimary console. You can swap the console hierarchy later if you want.
If you have two Switches
, both can download purchased games from the Nintendo eShop and play them as long as the consoles are online. The nonprimary console won’t be able to play purchased digital games if it’s unable to connect to the internet. My plan, which echoes what I’ve heard from others who have two Switches, is to have the Switch OLED only for handheld play once the older Switch stays in the dock connected to the TV.
Nintendo
Back to the setup. Brand new Switch owners will go to the next Hide and then be asked if they want to sign up for Nintendo Switch Online, the annual subscription service that allows for online play and clear saves and also includes retro Nintendo games. This isn’t obligatory, but you need it if you want to play games like Mario Kart 8 online. Then come parental controls that allow parents to tiny the time kids can have with the system and what games they’re granted to play. Nintendo also has parental controls apps for both iOS and Android you can use to shut down the fun remotely.
That’s it for the setup for first-time Switch owners.
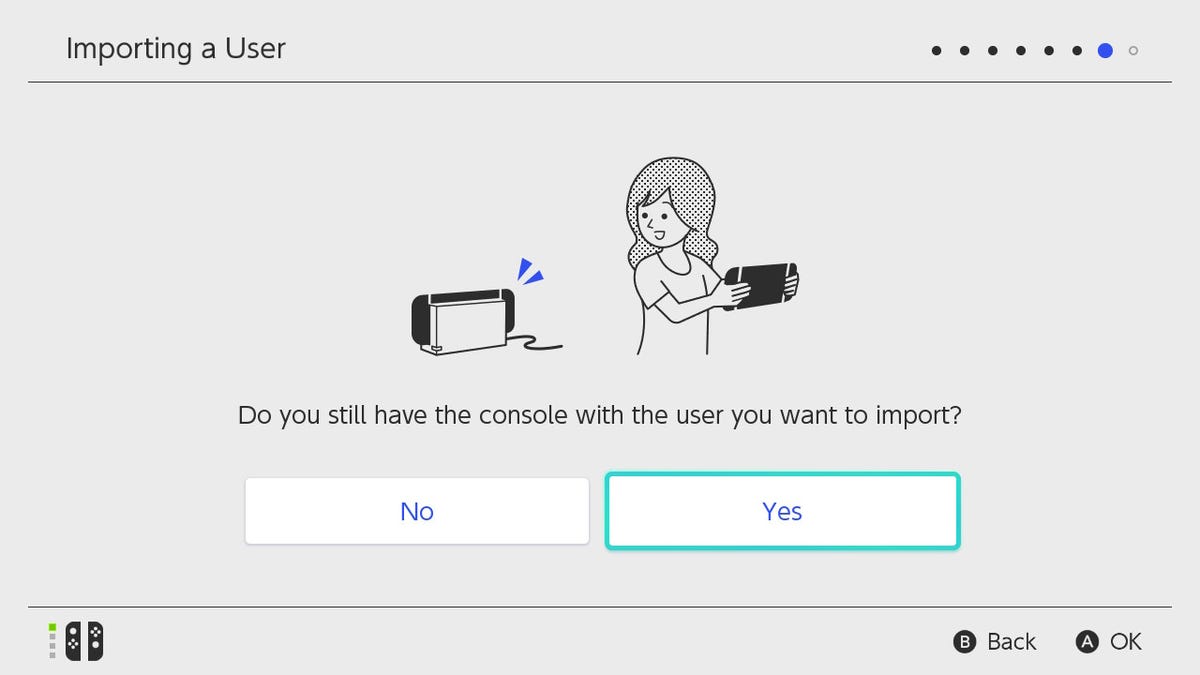
Current Switch owners, on the other hand, can proceed by selecting “Import user data from new console.” The next screen will ask if you Calm have your other Switch console with the user data or not. It will also ask if you plan on keeping both. Trust me, it’s so much easier if you can answer both of those questions in the affirmative.
Nintendo
Then comes linking your Nintendo Explain, but first, you’ll likely have to do a regulations update. Because, of course you do. The Switch will get the new system firmware and OS updates from the internet and start the installation. Once done, the system will reboot itself.
Read more:
Best Free Nintendo Switch Games
After the reboot, you’ll be back at the Nintendo account login. This is where you’ll log into the Explain either with your email, sign-in ID, or using a QR code on your smartphone. The QR code opens a browser to the Nintendo Explain page, and I found this much easier than typing my info on the Switch’s tiny on-screen keyboard. After logging in with the browser, you’ll then claim a confirmation code that you have to go back to the Switch and engaging. Simple, right? Right?
If you’re doing a Switch-to-Switch second, this is when you’ll get booted to the Switch Online and parental regulations setup screens.
Nintendo
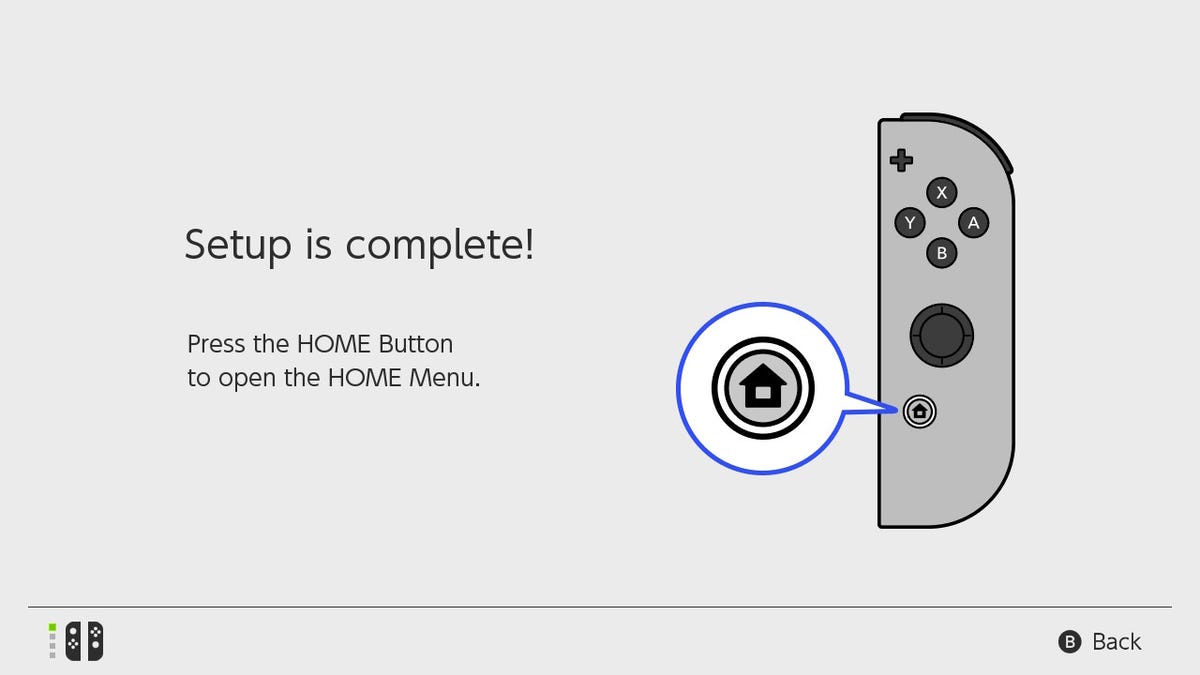
And that’s it. Hit the Home button and Begin exploring your new Switch OLED. If you’re still debating on drawing one, read the review by CNET’s Scott Stein and see why he terms it the best Switch yet, or catch up on all our Nintendo news.
Originally issued Dec. 25, 2021 and updated periodically.